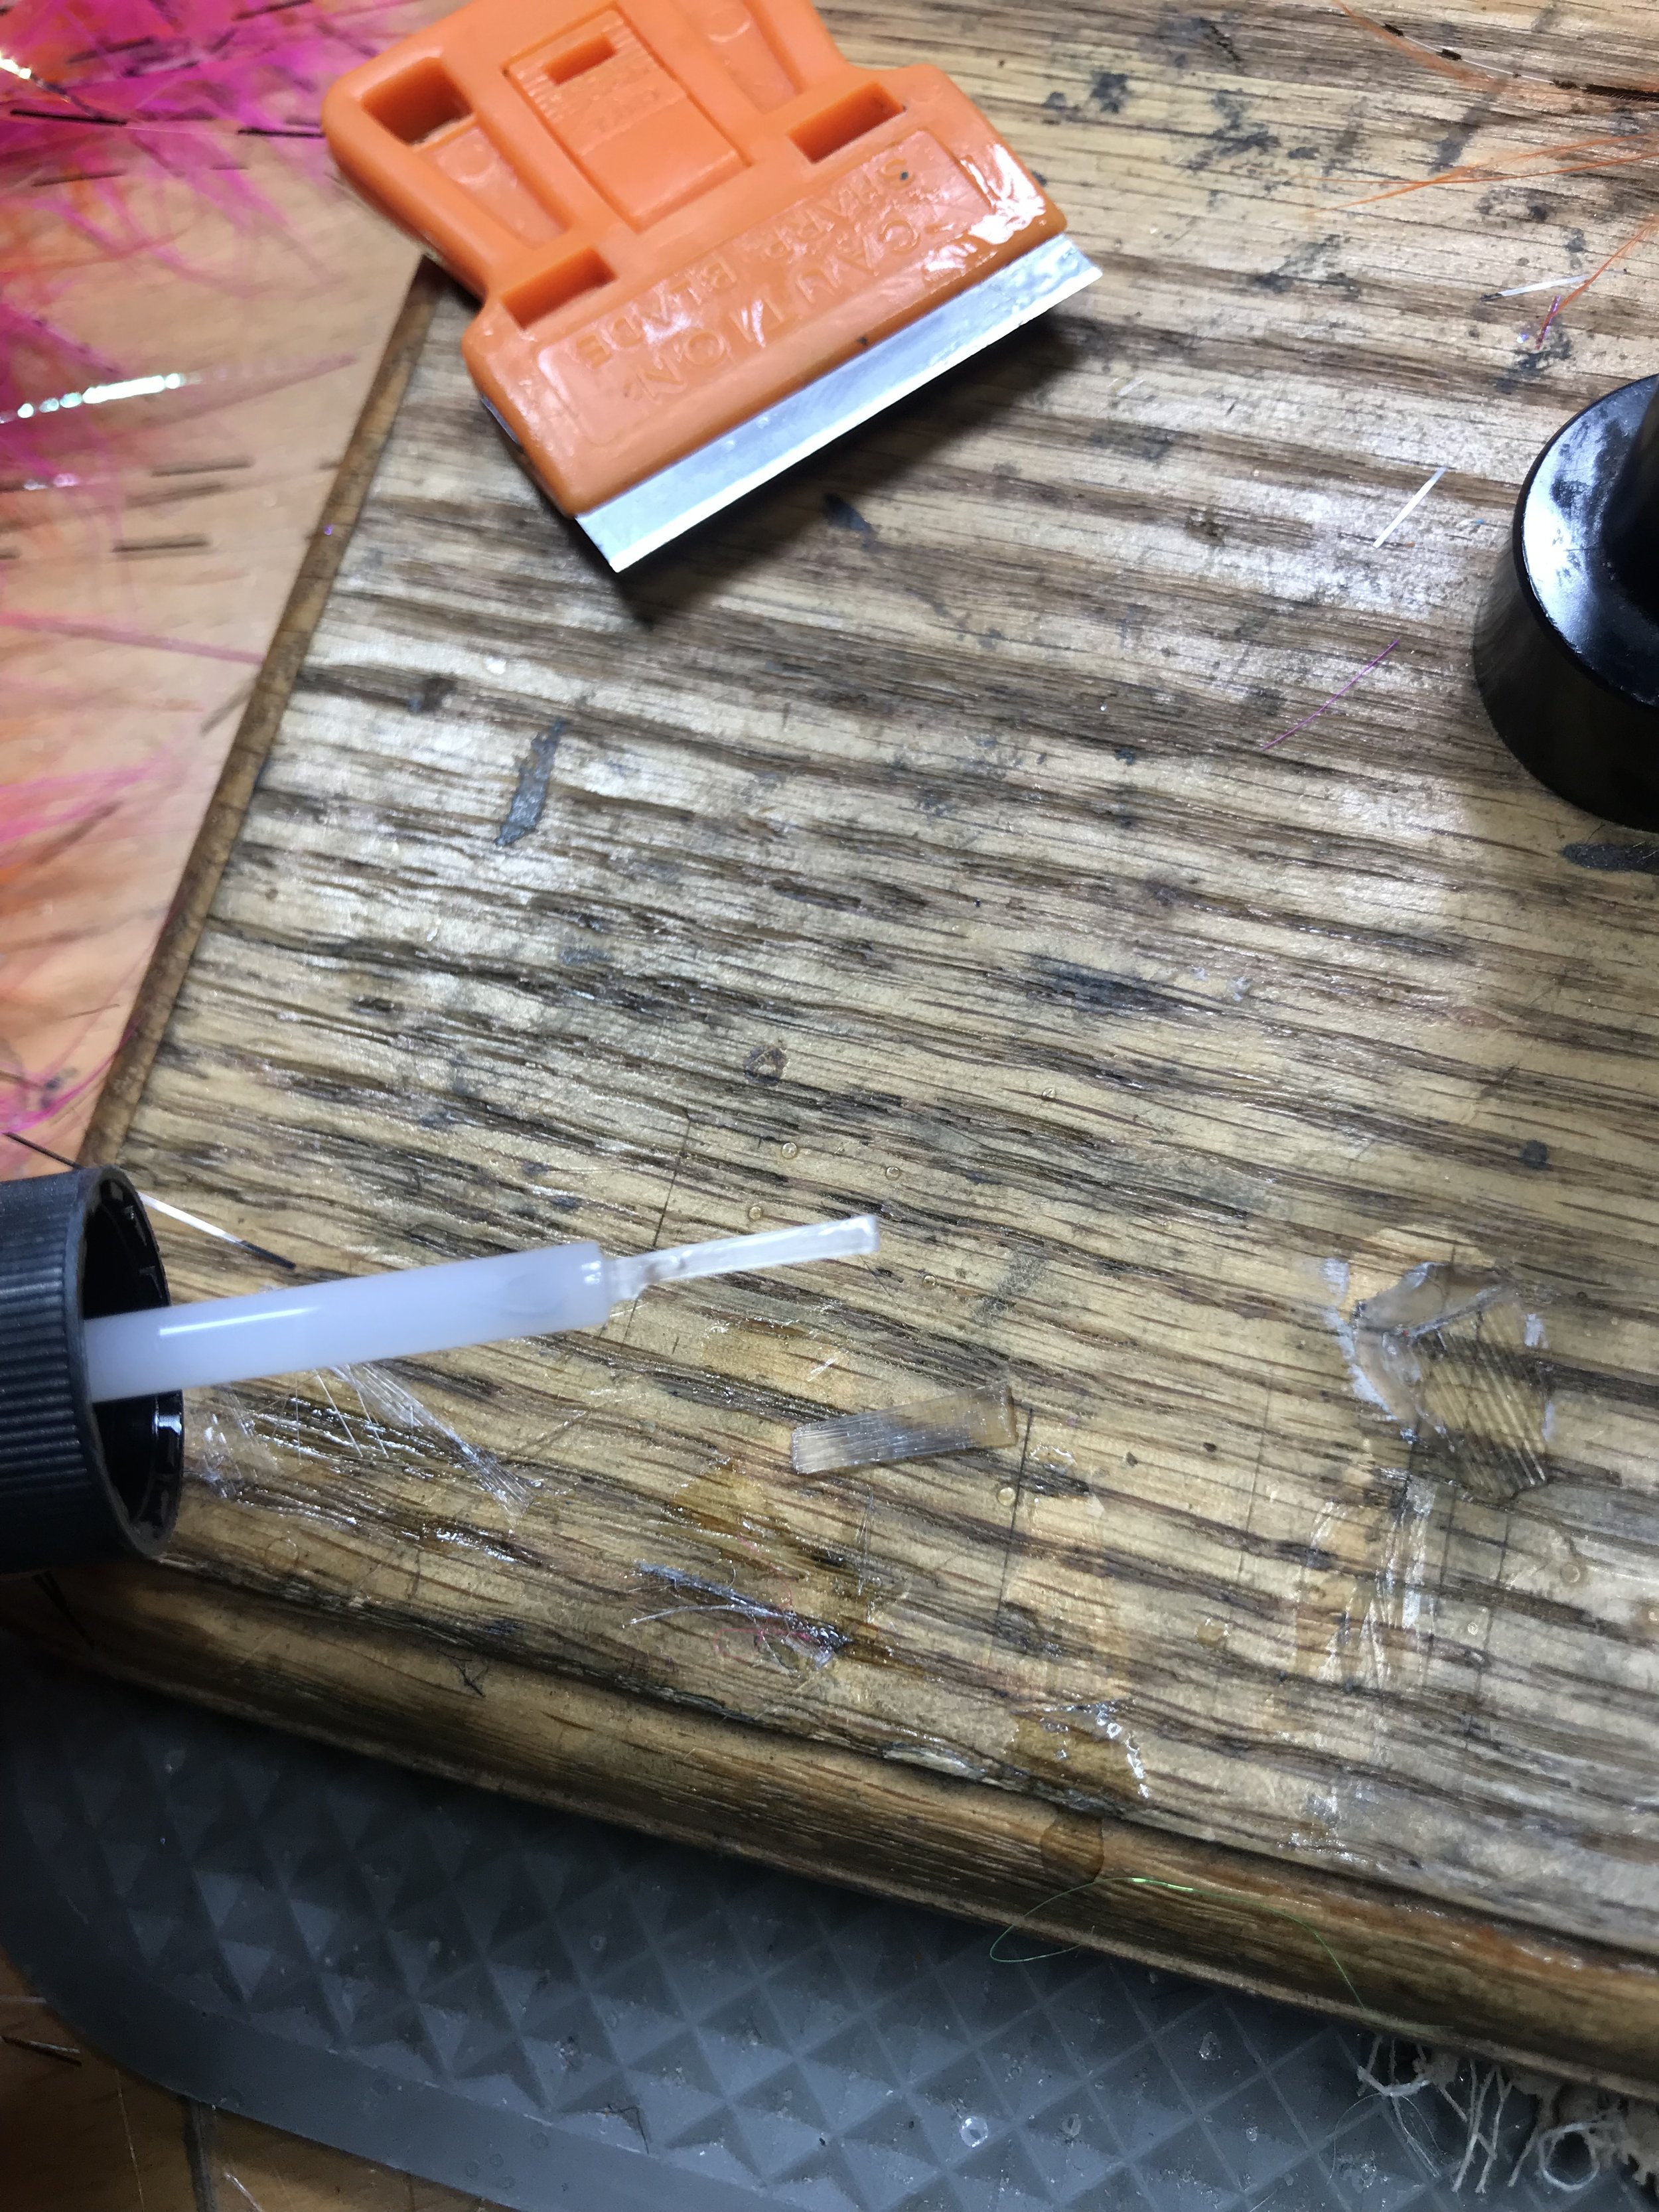
Zap a gap brush on
The best way to keep your flies from coming apart without a doubt is high tension on your thread wraps, this in conjunction with good purchase on the material being tied down and a tight whip finish and you've got a recipe for a real durable fly. When I tie flies for sale, they have glue and cement at various steps throughout their construction to ensure durability. This added step makes me feel better, allows me to feel confident that I've done my very best to make a fly that will last a long time and in the case of fly finishing it then provides an excellent base to build glossy thread heads. When I tie flies for myself, they don't always get the cement or glue treatment. I feel that omitting this step from my personal flies that it is yet another step in my durability testing homework and due diligence as a fly tier and designer.
Use a razor blade to trim down the brush applicator for accuracy.
Zap a gap brush on glue is essentially crazy glue with a brush applicator similar to nail polish. I prefer it to the tiny hole pointy applicator style as they seem like a constant pain in the ass. It gets glue buildup that crusty crystally crap and it drives me nuts.
Here are some tips for using Zap a gap brush.
I like to trim the brush of the brush on Zap with a razor blade so that its thinner and I can apply smaller amounts with increased accuracy.
When you use this glue do not glop it on there, less is more.
When you buy this glue buy a couple as inevitably you end up leaving the top slightly unscrewed, it falls over, leaks all over your desk and fastens itself to said desk. When this happens more often than not, this bottle is dead.
If you are only doing heads wait till the end of your session and do them all at once and clean the lid and threads with some scrap plastic bag to keep your bottle from being "seized."
If you have a seized bottle use a pair of vice grips on the lid and turn the oval-shaped bottle to release, this won't always work but often does.

